
Herby Cheddar Biscuits
Lemon & Life is part of the Amazon Associates & other partner programs, and this page may contain affiliate links. If you click on a link and make a purchase, we may receive a small commission at no cost to you. We only recommend products and services that we genuinely believe in and/or use ourselves; that’s our promise. Thanks for your support in this way.
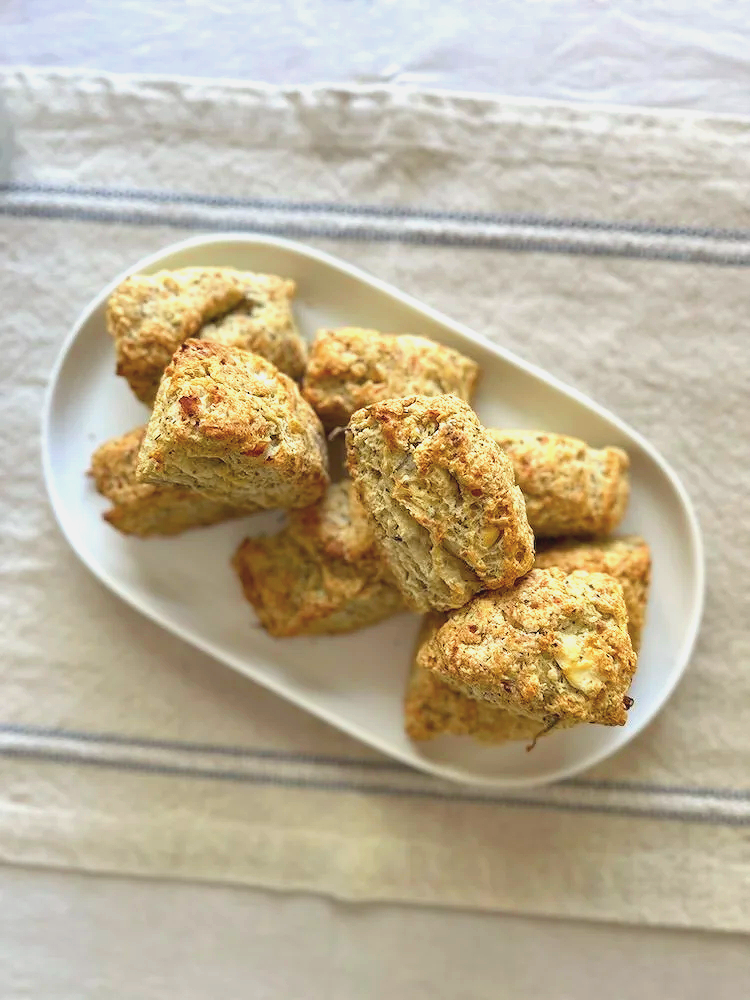
Gosh! These have to be one of my favourite biscuits I’ve ever made. Cheesy, herby with layers of salted butter. What more could I ask for?
Ready to make some biscuits for your next gathering? Beware! Watch them disappear! Read on below to learn how to make these incredibly delicious Herby Cheddar Biscuits with only a few simple ingredients.
I was scrolling on Pinterest one afternoon, looking for some type of savoury scone or biscuit to go with our Sunday brunch. As you may be aware, there’s hundreds.
I sipped my coffee and kept reading, curious to learn more about the difference between the two.
At their heart, both scones and biscuits share an nearly identical culinary DNA. They rely on a simple, foundational handful of pantry staples: flour, a leavening agent (usually baking powder or baking soda), fat (typically cold butter or shortening), and a liquid (like milk or buttermilk).
The magic lies entirely in the technique. For both baked goods, the ultimate goal is to keep the fat incredibly cold and handle the dough as gently as possible.
When those tiny, solid pockets of cold fat hit a hot oven, they burst into steam, creating the lift and flaky layers that make both treats so iconic.
Scone vs. Biscuit: The Difference?
Here’s what I’ve learned: the real difference comes down to texture, richness, and intent.
The American Biscuit: Designed to be light, airy, and intensely flaky with distinct, pull-apart layers. The fat is often left in larger, pea-sized pockets during mixing, and the dough is folded multiple times to create lamination. It heavily favours buttermilk for a tangy flavour and maximum rise, and it rarely contains sugar or eggs.
The Scone: Leaner, denser, and distinctly crumbly. Scones usually incorporate heavy cream and often include eggs, which provide a richer, tighter crumb structure rather than flaky layers. They are also slightly sweet and act as a vehicle for mix-ins like dried fruits, nuts, or chocolate chips.
The Golden Rule: Biscuits should peel apart in flakes; scones should delicately crumble.
A Tale of Two Origins
Their roots are separated by an ocean and centuries of history:
Scones trace their heritage back to Scotland in the early 1500s. Originally, they were made with oats, shaped into a large round, cooked on a griddle, and sliced into triangular wedges (known as bannocks). They became a global superstar in the 1800s when Anna, the Duchess of Bedford, ordered them with her afternoon tea—sparking a British tradition that endures today.
Biscuits (specifically the fluffy, leavened version we know today) are a product of the American South. While the word comes from the Latin bis-coctus (meaning "twice-baked" hard sea biscuits), enslaved cooks and Southern bakers revolutionized the recipe in the 19th century. By pairing soft southern winter wheat—which has less gluten—with cheap, readily available lard and buttermilk, they created the impossibly light, sky-high biscuits that define Southern hospitality. Moving on.
Preparing Ingredients
To begin, grate your cheese with a box grater and do the same with your butter. Put the cheese and butter back into the fridge immediately while you prepare the rest of your ingredients.
Next, in a large bowl, whisk your dry ingredients: the flour, sugar, baking powder, and salt. Mix in all your herbs here too.
Now you can add your chilled butter and cheese and mix with your fingers until all the cheese and butter are covered in the flour. You're looking for chunky sand consistency.
Pour in some of the milk/buttermilk and mix with a spoon or spatula, and then switch back to your hands and mix until a shaggy dough forms. Don't over-mix.
Dump your dough out onto a lightly floured surface and press the dough together into a square/rectangle. Fold the dough in half with your bench scraper and press the layer together. Rotate 90° and repeat the process about 4 times.
Work fast, and press the dough down until it is around 2 inches tall in a rectangular shape. You really don’t want stuff to melt. For me, living in the Caribbean means you have to be swift, because the kitchen is an oven in itself.
Wrap in plastic and chill it for 30 minutes in the fridge.
Preheat oven to 375ºF on convection bake.
Just before it's time to bake, take the dough from the oven and cut it into 10. Place onto a lined baking sheet with parchment or a silicone mat.
Brush with a little buttermilk or butter* (See note in recipe card) and bake for 25-30 minutes until golden brown.
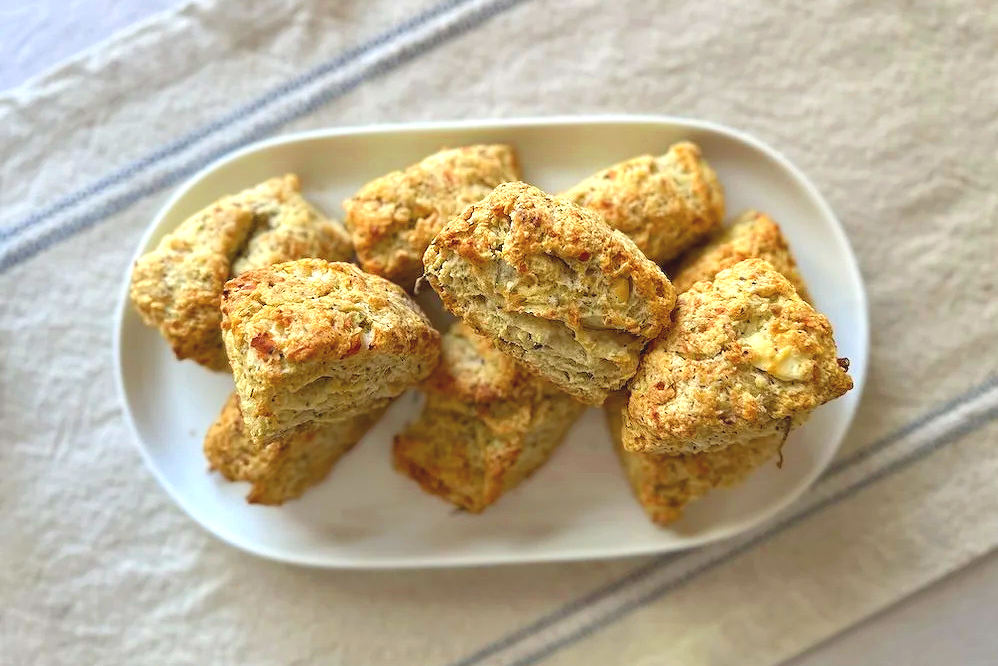

Herby Cheddar Biscuits
These irresistible herb and cheddar biscuits are a winner for the table! Enjoy them for brunch, dinner, or anything that needs a cheesy, savoury accompaniment
Ingredients
- 3 cups (420g) self-rising flour
- 1 tbsp baking powder
- 1/2 tbsp granulated sugar
- 1 tsp salt
- 1 cup sharp cheddar cheese, freshly grated (put back in the freezer once grated)
- 3-4 tbsp fresh herbs (like chives, parsley, or rosemary, finely chopped) OR 2 tbsp dried herbs (like Italian seasoning or summer savoury) anything goes here, I'll throw in some dried dill and thyme. Make it yours!
- 3/4 (170g) salted butter
- 1 cup whole milk or buttermilk (or add 1 tbsp white distilled vinegar to a measuring cup, and add your whole milk until it reaches the 1 cup line, stir it and let it sit for 5-10 minutes on the counter before using)
Instructions
Notes
Brushing with butter or buttermilk? Each is great, but completely different look, flavour, and texture once they come out of the oven.
Here is the breakdown of the differences to help you decide which one to use:
1. Brushing with Melted Butter
- The Result: A rich, savoury, and golden-brown top with a softer crust.
- The Flavour: Maxes out that classic, unmistakable buttery richness.
- When to use it: Perfect if you want soft-topped, highly flavorful biscuits.
- Pro-Tip: If you brush them before they go into the oven, they will brown beautifully. If you brush them again right after they come out, the crust will stay incredibly soft and absorb all that extra buttery flavour.
2. Brushing with Milk (or Buttermilk)
- The Result: A beautifully browned, slightly shiny, and noticeably crispier crust.
- The Flavour: Neutral and clean. It won't add any extra richness, letting the ingredients inside the biscuit (like cheddar or herbs) do the talking.
- When to use it: Choose milk if you love a distinct, crunchy top to contrast the soft, flaky layers inside. The sugars and proteins in the milk caramelize in the heat, creating that deep golden colour.



Nutrition Facts
Calories
200Fat
5 gSat. Fat
3 gCarbs
30 gFiber
1 gNet carbs
29 gSugar
2 gProtein
8 gSodium
445 mgCholesterol
14 mgMy nutritional notes are a guestimation. Use with caution
